How to Edit Instagram Reels with Alight Motion
Introduction to Reel Editing
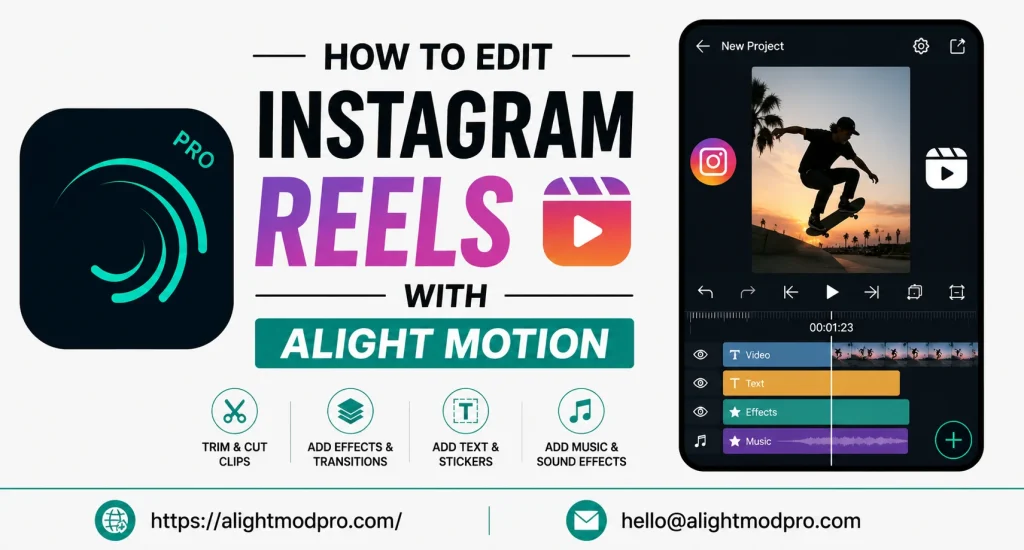
Editing Instagram Reels with Alight Motion has become one of the most popular ways to create engaging, professional-looking content on mobile devices. Alight Motion is a powerful motion graphics and video editing app that brings professional-level tools to your smartphone. Whether you are creating lyrical status videos, cinematic highlights, or minimalist aesthetic reels, Alight Motion provides everything you need. This guide will walk you through the complete process of editing Instagram Reels that stand out and perform well.
Setting Up Your Project Correctly
Choosing the Right Resolution
Before you start editing, proper project setup is essential for quality results. Open Alight Motion and create a new project with the correct settings for Instagram Reels. The standard resolution for Reels is 1080×1920 pixels in a 9:16 vertical aspect ratio. This full-screen format ensures your content displays properly on mobile devices without cropping or letterboxing.
Frame Rate Selection
Frame rate significantly affects how smooth your video appears. For most Reels content, 30 frames per second works well and balances quality with performance. If you want ultra-smooth motion and your device can handle it, choose 60 frames per second. Higher frame rates look better for fast-moving content like gaming highlights or dance videos.
Understanding Layers
Everything in Alight Motion is built using layers. Think of layers as transparent sheets stacked on top of each other. Your main video clip sits on one layer, while text overlays, shapes, effects, and additional images appear on separate layers. Understanding layers helps you organize your project and apply effects precisely to specific elements.
Editing Workflow for Trending Reels
Step 1: Import Your Footage
Start by importing your base video or image into Alight Motion. If you are creating a lyrics video or text-based edit, many creators begin in other apps to extract audio and sync lyrics before moving to Alight Motion for polishing. You can also import photos, background images, and video clips directly into Alight Motion.
Step 2: Sync with Music
Music and beat synchronization are crucial for engaging Reels content. Select a trending song that matches your video’s mood and tempo. Mark the beats in your audio track so you can align animations and transitions with the rhythm. Every movement, text appearance, and transition should hit on the beat for maximum viewer engagement.
Step 3: Apply Keyframe Animations
Keyframes are the foundation of motion design in Alight Motion. To animate any element, add a keyframe at the starting position with your desired property value. Move the playhead forward in time, change the property, and add another keyframe. Alight Motion automatically animates between these points. This technique lets you create smooth zooms, slides, rotations, and complex motion graphics.
Step 4: Use Smooth Graphs for Professional Motion
The difference between amateur and professional animation often comes down to easing. Instead of linear movement, apply easing curves to make motion feel natural. Use Ease In for movements that start slow and end fast, like accelerating objects. Use Ease Out for movements that start fast and end slow, like objects coming to rest. Ease In-Out provides smooth acceleration and deceleration for professional-looking animations.
Step 5: Add Effects and Transitions
Apply effects like glow, blur, and color grading to enhance your video’s visual appeal. Alight Motion offers various blur options including Gaussian Blur for soft, dreamy looks. For transitions, use fade-ins, slide-ins, zoom-ins, and wipe-outs to move smoothly between scenes. Effects should enhance your content without overwhelming it.
Step 6: Apply Presets for Quick Results
XML presets are pre-configured files containing effects, animations, and transitions. Importing a preset instantly applies complex settings to your video. You can find presets through social media communities, tutorials, and dedicated resources. Presets are especially useful for achieving cinematic looks without manually adjusting every parameter.
Popular Reel Editing Styles
Lyrical Status Videos
Lyrical status edits are incredibly popular on Instagram. This style combines song lyrics with beat-synced animations and visuals. Start by adding your lyrics as text in your editing workflow or directly in Alight Motion. Sync each line to the corresponding beat markers. Then, use keyframes and smooth graphs to animate text movement, scaling, and color changes. The text should flow perfectly with the music for maximum impact.
Minimalist Aesthetic Reels
Minimalist reels feature clean backgrounds, bold typography, soft animations, and satisfying rhythm-sync movement. These videos perform well because they are simple, scroll-stopping, and aesthetic. Use short, powerful text and keep visuals clean. Add breathing room with proper padding around text elements. Use neutral colors and follow a consistent theme throughout your reel.
Cinematic Highlight Reels
Cinematic highlights are popular for gaming content and dramatic storytelling. Record your footage at 60 frames per second for smooth motion. Apply color grading to achieve cinematic looks like teal-and-orange or cool, moody tones. Use presets designed for cinematic effects to save editing time. Add an energetic soundtrack and subtle sound effects for dramatic moments.
Glow and Glass Effects
Creating a glass or glow effect can make your reels look professional and stylish. For glass effects, create a shape layer with lowered opacity around 30 to 40 percent, apply Gaussian Blur for frosted appearance, and add highlights with gradient overlays. For glow effects, apply Outer Glow or similar effects to text and shapes. Animate shine reflections moving across glass elements for added realism.
Using Templates and Presets
Finding Templates
Many creators share Alight Motion templates through social media platforms and messaging groups. These templates often come as XML files or QR codes that you can scan to import directly into the app. Templates save hours of editing time and help beginners achieve professional results quickly.
Importing XML Presets
To import an XML preset, open Alight Motion and access the Import XML option from the menu. Browse your device to locate the downloaded XML file and select it. The preset will import as a project or layer. You can then copy the effects onto your video clips and adjust settings as needed for your specific content.
Exporting Your Reel
Quality Settings
Before exporting, review your animation timing and effect intensity. Ensure keyframes are properly positioned and check that effects like blur and glow render correctly. Export your video as MP4 with a high bitrate for the best quality. For short clips, you can increase the bitrate further to maintain quality. Always preview your final export before posting to Instagram.
Aspect Ratio Consideration
While standard Reels use 9:16 vertical format, some creators use a wider cinematic ratio for a different, visually striking look. This wide format creates a movie-screen feel and stands out in the feed. However, ensure your content fits Instagram’s display requirements before posting.
Pro Tips for Viral Success
Post your reels at high-engagement times when your audience is most active. Use trending audio tracks that are currently popular on Instagram. Add a simple, engaging caption like “Save this for inspiration” to encourage engagement. Stay updated on current editing trends by scrolling Instagram Reels daily and noting new styles, effects, and ratios that creators are experimenting with.
Frequently Asked Questions
Conclusion
Editing Instagram Reels with Alight Motion opens up endless creative possibilities. From project setup and keyframe animations to applying presets and exporting high-quality videos, the process becomes intuitive with practice. Whether you prefer lyrical status videos, minimalist aesthetics, or cinematic highlights, Alight Motion provides professional tools on your mobile device. The more you practice, the smoother and more creative your edits will become. Start creating today and watch your Reels stand out on Instagram. Happy editing