Complete Guide to Alight Motion Keyframe Animation
Keyframe animation is the foundation of motion design in Alight Motion. It allows you to create smooth, professional animations by defining specific points of change in your layers. This comprehensive guide will teach you everything you need to know about keyframe animation in Alight Motion.
Whether you are a complete beginner or looking to refine your skills, this guide covers all aspects of keyframe animation. From basic concepts to advanced techniques, you will learn how to bring your creative vision to life. Let’s begin this complete journey into Alight Motion keyframe animation.
What Are Keyframes
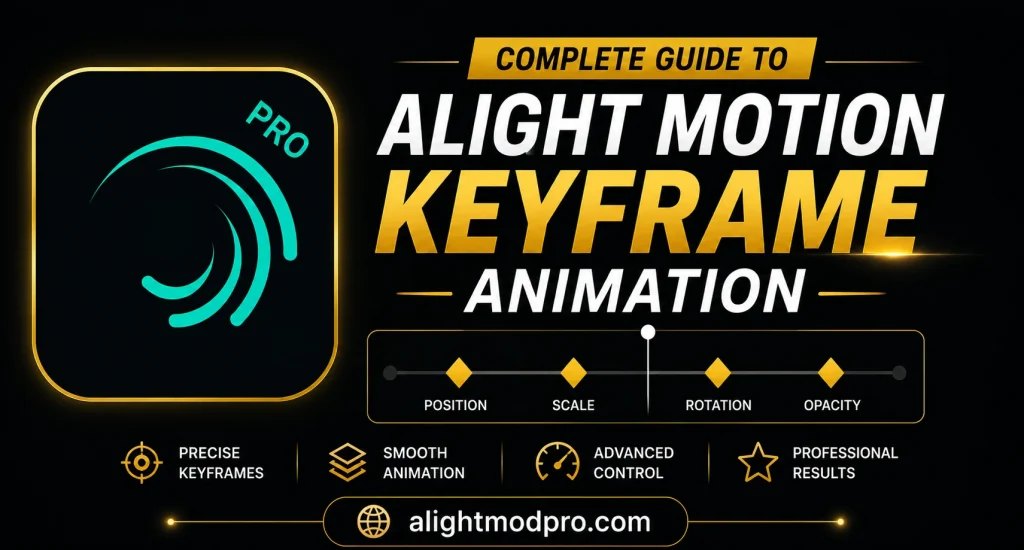
Keyframes are markers that define the starting and ending points of any animation. They store specific values for properties like position, scale, rotation, and opacity. When you have at least two keyframes with different values, Alight Motion automatically creates the animation between them.
This interpolation between keyframes is what creates smooth motion. Understanding keyframes is the first step to becoming a proficient animator. Every professional animation starts with mastering keyframe fundamentals.
Types of Properties You Can Animate
Almost every property in Alight Motion can be animated using keyframes. Position keyframes allow you to move objects across the screen. Scale keyframes enable you to change the size of your elements. Rotation keyframes let you spin objects at various speeds.
Opacity keyframes create fade effects for smooth transitions. Color keyframes allow you to change colors over time. Shape path keyframes enable morphing between different shapes. The possibilities are nearly endless with keyframe animation.
How to Add Keyframes
Adding keyframes in Alight Motion is a straightforward process. Select the layer you want to animate and move the playhead to the desired point on the timeline. Tap the diamond icon next to the property you want to animate to add a keyframe.
Move the playhead to a different point in time and change the property value. A new keyframe will be automatically created. The app will then generate the animation between these two keyframes.
Navigating the Timeline
The timeline is where all your keyframes live and where you manage your animation. You can zoom in and out of the timeline for precise adjustments. The playhead indicates your current position in the animation.
Keyframes appear as diamond markers on the timeline. You can drag them left or right to change their timing. Understanding timeline navigation is essential for efficient animation work.
Understanding Keyframe Interpolation
Interpolation determines how Alight Motion calculates values between keyframes. Linear interpolation creates constant speed motion between keyframes. This results in mechanical, robotic movement that looks unnatural.
Auto-bezier interpolation creates smooth, curved motion between keyframes. This is the default interpolation in Alight Motion and works well for most animations. You can change interpolation types by right-clicking on keyframes.
The Graph Editor Explained
The graph editor is a powerful tool for refining your keyframe animations. It displays your animation as a curve rather than just keyframe markers. The value graph shows how property values change over time.
The speed graph shows how fast your animation moves at each point. Mastering the graph editor is essential for professional-quality animations. It gives you complete control over the flow of your motion.
Creating Basic Motion Animations
Start with simple position animations to understand keyframe basics. Add a keyframe at the start position and another at the end position. Your object will now move smoothly between these two points.
Experiment with different distances and durations to understand how they affect motion. Short distances with long durations create slow, gentle movement. Long distances with short durations create fast, energetic motion.
Scale Animation Techniques
Scale animation allows you to create growing and shrinking effects. Add a keyframe with a scale value of 0% at the start of your animation. Add another keyframe with a scale value of 100% at the end.
This creates a simple pop-in effect that is very popular in social media content. You can also reverse this for pop-out effects. Combine scale with position for more dynamic animations.
Rotation Animation Essentials
Rotation keyframes create spinning and turning effects in your animations. Add keyframes with different rotation values to create spinning motion. A rotation of 360 degrees creates a full spin effect.
Use rotation for loading animations, logo reveals, and dynamic transitions. Combine rotation with easing for more natural spinning motion. Rotation is a fundamental animation tool for all motion designers.
Opacity and Fade Effects
Opacity keyframes create fade in and fade out effects. Start with 0% opacity and end with 100% for a fade-in effect. Start with 100% and end with 0% for a fade-out effect.
Fades are essential for professional transitions and scene changes. Combine multiple opacity keyframes for blinking or flashing effects. Opacity animation is one of the most commonly used keyframe techniques.
Color Animation Techniques
Color keyframes allow you to change colors over time. Add keyframes with different color values to create color transitions. This is perfect for creating gradient animations and mood changes.
Use color animation for background transitions and text effects. Color changes can convey emotional shifts in your content. Professional editors use color animation to enhance storytelling.
Working with Multiple Keyframes
Complex animations require multiple keyframes for each property. Add as many keyframes as needed to create the desired motion path. Each keyframe defines a specific state of your animation.
The spacing between keyframes determines the speed of your animation. Closer keyframes create faster motion between states. Further keyframes create slower, more gradual transitions.
Copying and Pasting Keyframes
Alight Motion allows you to copy and paste keyframes between layers. This saves significant time when creating consistent animations. Select the keyframes you want to copy and use the copy command.
Paste them onto another layer to duplicate the animation. This is especially useful for animating multiple similar elements. Copying keyframes ensures consistency across your project.
Deleting and Modifying Keyframes
You can delete unwanted keyframes by selecting them and pressing delete. Modify keyframe values by selecting them and changing the property value. The animation will update automatically when you make changes.
You can also move keyframes to different positions on the timeline. This changes the timing of your animation without affecting the values. Keyframe modification is a regular part of the animation workflow.
Using Hold Keyframes
Hold keyframes pause your animation at specific points. They maintain a constant value until the next keyframe. This is useful for creating dramatic pauses or freeze-frame effects.
Place hold keyframes at strategic points for maximum impact. Hold keyframes add variety and interest to your animations. They are commonly used in promotional and social media content.
Step-by-Step Keyframe Animation
This is a structured approach to creating animations. Start by planning your animation and identifying key moments. Add keyframes at each important point in your animation timeline.
Refine the interpolation between keyframes using the graph editor. Preview your animation and make adjustments as needed. A step-by-step approach ensures polished, professional results.
Keyframe Animation for Text
Text animation is one of the most common uses of keyframes. Animate text position for sliding titles and scrolling credits. Animate text scale for dramatic entrances and exits.
Animate text opacity for fade effects and layered typography. Animate text color for gradient transitions and dynamic headlines. Text keyframe animation is essential for professional video content.
Animating Shape Paths
Shape path keyframes allow you to morph one shape into another. Create a shape with one path and add a keyframe at the start. Change the shape path at a later point and add another keyframe.
This creates smooth morphing between different shapes. Shape morphing is a powerful tool for creative motion graphics. It adds a unique, professional dimension to your animations.
Working with the Dope Sheet
The dope sheet shows all your keyframes in a compact timeline view. It allows you to see and adjust the timing of all your keyframes. This is especially useful for complex animations with many keyframes.
Adjust multiple keyframes simultaneously by selecting them together. The dope sheet is essential for maintaining timing consistency. Professional editors rely on the dope sheet for efficient workflow.
Easing and Timing Adjustments
Easing controls how your animation accelerates and decelerates. Ease-in starts slow and speeds up toward the end. Ease-out starts fast and slows down toward the end.
Ease-in-out combines both for smooth motion throughout. Timing refers to the duration and spacing between keyframes. Both easing and timing are essential for professional animations.
Creating Overshoot Animations
Overshoot is a technique where an element goes past its target and bounces back. Add a keyframe beyond your target value and another at the final value. This creates a playful, energetic effect that feels professional.
Adjust the overshoot amount to match your desired energy level. Overshoot adds personality and polish to your animations. It is widely used in social media and promotional content.
Elastic Motion Techniques
Elastic motion creates a bouncing, spring-like effect in your animations. This is achieved by adding multiple overshoot keyframes. Each overshoot should be smaller than the previous one.
The result is a natural, physics-based bounce effect. Elastic motion is perfect for playful, energetic animations. It adds a professional, polished feel to your content.
Follow-Through Animation Principles
Follow-through is when an element continues moving after the main motion stops. This mimics real-world physics and adds realism to animations. Add subtle follow-through keyframes after your main animation.
The follow-through should be small and gradually settle. This principle makes animations feel natural and grounded. Professional animators always consider follow-through in their work.
Anticipation in Keyframe Animation
Anticipation is when an element moves backward before moving forward. This prepares the viewer for the upcoming motion. Add a small keyframe in the opposite direction before your main animation.
The anticipation should be subtle and brief. This makes the main motion feel more powerful and intentional. Anticipation is a fundamental principle of professional animation.
Synchronizing Keyframes with Audio
Audio synchronization is essential for music videos and social media content. Use the audio waveform display to identify beats and accents. Add keyframes exactly on these beats for perfect synchronization.
Beat-synced animations are highly engaging and professional. They create a seamless connection between visuals and audio. Professional editors always consider audio when placing keyframes.
Advanced Keyframe Workflows
Advanced workflows include using null layers for complex animations. Parent animated elements to null layers for easier control. Use pre-compositions to simplify complex keyframe setups.
Combine multiple techniques for sophisticated animations. Advanced workflows save time and improve animation quality. Professional editors continuously refine their keyframe workflows.
Frequently Asked Questions
Conclusion
Keyframe animation is the backbone of motion design in Alight Motion. This complete guide has covered everything from basic concepts to advanced techniques. Mastery of keyframes allows you to create professional animations with ease.
Practice each technique regularly to build your skills and confidence. Study professional animations to understand their keyframe workflows. With dedication and practice, you can create stunning keyframe animations in Alight Motion.