Alight Motion Masking Tutorial (Step-by-Step Guide)
Masking is one of the most powerful techniques in Alight Motion for creating professional video effects. It allows you to reveal or hide specific parts of your layers, creating stunning visual effects. This step-by-step guide will teach you everything you need to know about masking in Alight Motion.
Masking is essential for creating text reveals, creative transitions, and complex compositing effects. Mastering this technique will significantly elevate your video editing skills. Let’s explore the complete process of masking in Alight Motion.
What Is Masking
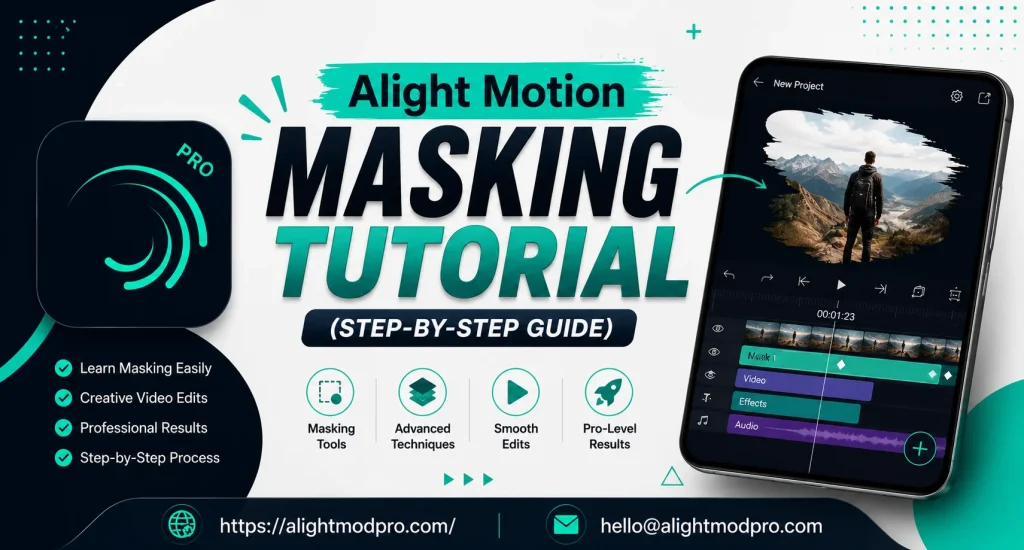
Masking is a technique that allows you to control the visibility of specific parts of a layer. You use a shape or another layer to determine which parts of your video are visible and which are hidden. This creates the illusion of objects appearing, disappearing, or being revealed in creative ways.
In Alight Motion, masking works by using one layer to define the visible area of another layer. The masking layer acts like a stencil, showing only the parts of the layer that fall within its shape. Understanding this concept is the foundation of all masking techniques.
Types of Masking Tools
Alight Motion offers several masking tools for different creative needs. The rectangular tool is perfect for clean, straight-edged masks for shapes like squares and rectangles. The oval tool creates soft, feathered edges ideal for circular and elliptical reveals.
The pen tool allows you to draw custom shapes and is the most versatile masking option. This tool requires practice but offers unlimited creative possibilities. Each tool serves a specific purpose in your editing workflow.
Step 1: Create Your Project
Open Alight Motion and tap “New Project” to start your masking journey. Choose your desired resolution and frame rate for the project. Add a background layer or import the video you want to edit.
This sets the stage for your masking work. A well-prepared project makes the masking process smoother and more efficient. Always plan your masking effect before starting.
Step 2: Add Your Target Layer
Import the video, graphic, or image that you want to mask. This is called the layer to be masked. Tap the layer to select it in the timeline.
Make sure your target layer is positioned correctly in the timeline. The layer you want to mask will be the one affected by the masking effect. This is the main element you will be revealing or hiding.
Step 3: Create the Masking Layer
Add a new shape layer that will serve as your mask. This can be a rectangle, oval, or custom shape created with the pen tool. The shape you draw will determine what part of your target layer is visible.
Position and resize your shape to cover the area you want to reveal. The shape layer acts like a window showing only what is within its boundaries. You can use any shape for creative masking effects.
Step 4: Create the Masking Group
Place the layer to be masked on top of the masking layer in your timeline. Select both layers by tapping and holding or using the selection tool. Tap the three dots in the top right corner and select “Create Masking Group.”
This groups both layers together and applies the mask. You will immediately see the masking effect applied to your layer. The shape layer now controls the visibility of your target layer.
Step 5: Adjust and Animate Your Mask
With the masking group created, you can now adjust the mask properties. Select the shape layer and modify its position, scale, or shape to change the visible area. Keyframe these properties to create animated masking effects.
Animate the mask moving across the screen for dynamic text reveals. You can also animate the shape itself for complex transitions. Keyframe animation is essential for professional masking effects.
Step 6: Use Smooth Edges
Apply the Smooth Edges effect to your mask for softer, more natural transitions. This smooths the edges of the opaque parts of your mask layer without affecting the internal colors. Adjust the Strength value to control the amount of smoothing.
When Mask to Layer is turned on, smoothing only happens within already opaque areas. When turned off, smoothing works on all parts of the layer edge. This is perfect for creating soft, organic reveals.
Rectangular Masking Tool
This is the most fundamental tool for creating basic masking effects. It works well for rectangular, square, or other geometric shapes. You can create clean, adjustable edges for simple four-cornered shapes.
This tool is easy to use and perfect for beginners. However, it cannot be used for complex shapes with curved or irregular borders. Use it to highlight specific objects in the background.
Oval Masking Tool
The oval tool is ideal for creating elliptical and spherical masking effects. It creates soft, feathered edges that are perfect for circular reveals. This tool is often used to make subjects prominent in the foreground.
Oval masks work well for revealing faces or highlighting circular objects. The soft edges create a more natural and pleasing transition. This tool takes slightly more practice but produces beautiful results.
Pen Masking Tool
The pen tool is the most advanced and versatile masking option. It allows you to draw custom shapes and create complex masking paths. This tool is essential for professional-quality masking effects.
With the pen tool, you can trace around objects with precision. This is ideal for isolating subjects from their backgrounds. Mastering this tool takes practice but is essential for advanced editing.
Clipping Masking
Clipping masking is a modern technique where text or images appear within a limited area. This creates clean, sharp-edged effects popular in social media content. Clipping masks are available in newer versions of Alight Motion.
This technique is perfect for creating text reveals and graphic overlays. The mask is applied to the layer beneath it for seamless integration. Clipping masks offer a streamlined workflow for professional editors.
Animated Masking
Animated masking involves animating the mask itself for dynamic effects. This is frequently used by professional video editors for high-quality content. The animation evolves the masking effect throughout the video.
This technique is the secret behind expensive, professional reels. Animated masks create dynamic, engaging content that attracts viewers. Master this technique to boost your content’s production value.
Text Reveal with Masking
Create impressive text reveals by using a mask moving across your text. Add a shape layer positioned to the left of your text. Use the shape as a mask on the text layer and animate it moving across from left to right.
This creates a dynamic text entrance effect perfect for intros. You can customize the direction and speed of the reveal. This technique is very popular for social media content.
Gradient Masking
Gradient masking allows you to define the visibility level of your layer. This is achieved by using a gradient as the mask. This type of masking is specially used in brochure overlays and soft transitions.
Gradient masks create smooth, gradual reveals between scenes. They are perfect for creating professional-looking transitions. This is one of the brilliant masking features of Alight Motion.
Alpha Channel Masking
Alpha channel masking uses transparency and opacity to control visibility. This technique makes images appear through transparent or semi-transparent overlays. Alpha channels control the transparency and opacity of colors.
This is useful for creating complex compositing effects. You can blend multiple layers seamlessly using alpha channel masks. It is commonly used in professional visual effects work.
Common Masking Mistakes
One common mistake is forgetting to ensure both layers have the same timespan. Mismatched layer durations will cause masking to fail at certain points. Always check that your target layer and mask layer cover the same timeline duration.
Another mistake is using complex shapes without proper practice. Start with simple shapes and gradually work up to custom paths. Practice is essential for mastering advanced masking techniques.
Practice Exercise
Create a simple project with a video clip and a shape layer. Practice applying a rectangular mask to reveal part of the video. Then experiment with the oval and pen tools for different effects.
Try animating the mask to create a dynamic reveal effect. Export your practice project to see the results. Regular practice builds your masking skills for professional projects.
Frequently Asked Questions
Conclusion
Masking is an essential skill for professional video editing in Alight Motion. Start with basic shapes and gradually explore more advanced tools like the pen tool. Practice each technique to understand how different masks work.
Combine masking with animation for dynamic, engaging content. Study professional videos to see how masking is used effectively. With practice, you can create stunning masking effects in Alight Motion.