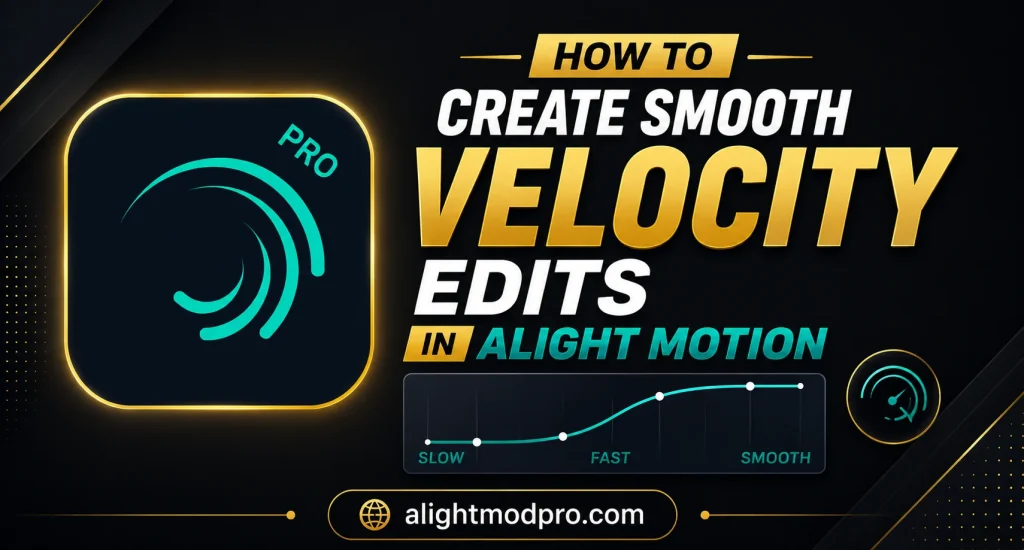
How to Create Smooth Velocity Edits in Alight Motion
Velocity editing is one of the most powerful techniques in Alight Motion for creating dynamic, professional-looking animations. It allows you to control the speed and flow of your animations, making them feel more natural and engaging. This guide will teach you everything you need to know about creating smooth velocity edits in Alight Motion.
Whether you are a beginner or an experienced editor, mastering velocity editing will significantly improve your content quality. This technique is widely used in social media content, music videos, and professional motion graphics. Let’s dive into the step-by-step process of creating smooth velocity edits.
Understanding Velocity Editing
Velocity editing refers to controlling the speed at which an animation happens over time. Instead of moving at a constant speed, your elements can start slow, speed up, and then slow down again. This mimics real-world physics and makes your animations feel more organic and professional.
The key to velocity editing is understanding easing curves and how they affect motion. Alight Motion provides powerful tools for creating custom velocity curves. Mastering these tools is essential for professional-looking animations.
Step 1: Set Up Your Project
Begin by opening Alight Motion and creating a new project with your desired resolution and frame rate. For smooth velocity edits, a higher frame rate like 60fps is recommended. Import the assets you want to animate, such as text, shapes, or video clips.
Organize your layers in a logical order before starting the animation process. A well-organized project makes velocity editing much easier and more efficient. Professional editors always set up their workspace before beginning any animation work.
Step 2: Add Keyframes for Position or Scale
Select the layer you want to animate and add keyframes for the property you want to change. For velocity edits, position and scale are the most commonly used properties. Place your first keyframe at the start position and your second keyframe at the end position.
The distance between these keyframes will determine the overall duration of your animation. Professional editors often place keyframes at specific beats in their audio track. This creates perfectly synchronized velocity edits that feel musical and engaging.
Step 3: Access the Graph Editor
The graph editor is where the magic of velocity editing happens. Access it by tapping on the keyframe icon and selecting the graph view. This shows you the speed and value curves for your animation. The graph editor is the most powerful tool for creating custom velocity curves.
Study the graph to understand how your animation currently moves. The default linear graph creates constant speed motion, which looks robotic and unnatural. Professional editors always customize the graph for smooth, organic movement.
Step 4: Create Custom Easing Curves
In the graph editor, you can adjust the bezier handles to create custom easing curves. The speed graph shows how fast your animation moves at each point in time. Adjusting these handles allows you to create smooth acceleration and deceleration.
For a smooth start, pull the handle up to create a gradual acceleration. For a smooth end, pull the handle down to create a gradual deceleration. Professional editors spend significant time perfecting these curves for natural-looking motion.
Step 5: Add Overshoot for Extra Smoothness
Overshoot is a technique where an element goes slightly past its final position before settling back. This mimics real-world physics and adds a playful, professional feel to your animations. In the graph editor, create a slight overshoot by extending the curve beyond the final value before returning.
Adjust the overshoot amount based on the style and energy of your project. Subtle overshoot works well for professional corporate videos. Larger overshoot creates a more energetic, playful feel suitable for social media content.
Step 6: Use Anticipation and Follow-Through
Anticipation is when an element moves slightly backward before moving forward. This prepares the viewer for the motion and makes it feel more realistic. Follow-through is when an element continues moving slightly after the main motion stops.
These principles of animation add depth and professionalism to your velocity edits. Combine anticipation, follow-through, and overshoot for maximum smoothness. These techniques are borrowed from traditional animation and work perfectly in Alight Motion.
Step 7: Adjust Timing with Keyframe Positioning
The position of your keyframes on the timeline determines the overall timing of your animation. Move keyframes closer together for faster animations and further apart for slower ones. Professional editors adjust keyframe timing while watching the animation loop for perfect pacing.
Use the timeline zoom to make precise timing adjustments. Small changes in keyframe position can significantly affect the feel of your animation. Experiment with different timing variations to find what works best for your project.
Step 8: Add Secondary Motion
Secondary motion refers to additional movements that happen alongside your main animation. For example, if you are moving a logo across the screen, you might also rotate it slightly or change its scale. This adds richness and complexity to your velocity edits.
Combine multiple properties with velocity editing for dynamic, professional results. Secondary motion makes your animations feel more polished and complete. Professional editors always consider secondary motion when planning their velocity edits.
Step 9: Sync with Audio Beats
For maximum impact, sync your velocity edits with the beats in your audio track. Identify the beats using the audio waveform display in Alight Motion. Place your keyframes exactly on these beats for perfect synchronization.
Beat-synced velocity edits are extremely popular for social media and music content. The combination of visual motion and audio rhythm creates highly engaging content. This technique is a hallmark of professional editing.
Step 10: Preview and Refine
Always preview your velocity edits at different playback speeds to catch imperfections. Watch your animation at normal speed, then slow it down to half speed to check timing. Speed it up to double speed to identify any awkward pauses or jerky movements.
Make adjustments in the graph editor based on your review. Professional editors often review their work multiple times before finalizing. This refinement process is essential for achieving smooth, professional results.
Step 11: Add Motion Blur
Motion blur adds realism to fast-moving elements in your velocity edits. Enable motion blur on your animated layers to eliminate choppy movement. The blur amount automatically adjusts based on the speed of your animation.
Motion blur is especially important for velocity edits with fast movement. It bridges the gap between frames, creating smooth, cinematic motion. Professional editors always enable motion blur for velocity-based animations.
Step 12: Use Null Layers for Complex Edits
For complex velocity edits with multiple elements, use null layers as control points. Parent your animated elements to a null layer and animate the null layer instead. This allows you to control multiple elements with a single velocity curve.
Null layers simplify complex animations and make them easier to adjust. Professional editors rely on null layers for efficient workflow. This technique is essential for multi-element velocity edits.
Step 13: Create Variable Speed Effects
Variable speed effects allow you to change the speed of your animation mid-motion. Create multiple keyframes and adjust the spacing between them for different speeds. This creates dynamic, attention-grabbing velocity edits.
For example, start slow, speed up in the middle, and slow down at the end. This creates a dramatic, professional effect that holds viewer attention. Variable speed is a hallmark of professional video editing.
Step 14: Apply the Hold Keyframe Technique
Hold keyframes allow you to pause your animation at specific points. This is useful for creating dramatic pauses or emphasizing specific moments. Place hold keyframes at strategic points in your animation timeline.
Combine hold keyframes with velocity editing for dynamic, professional results. This technique is commonly used in promotional videos and social media content. Hold keyframes add variety and interest to your animations.
Step 15: Use Ease Presets as Starting Points
Alight Motion offers preset easings like ease-in, ease-out, and ease-in-out. Use these as starting points for your custom velocity curves. Then adjust the handles to create your unique easing style.
Preset easings save time and provide a solid foundation for customization. Professional editors often start with presets and then refine them. This approach combines efficiency with creative control.
Step 16: Master the Speed Graph
The speed graph is the most precise tool for velocity editing. It shows the speed of your animation at every point in time. Adjust the speed graph to create complex velocity profiles that would be impossible with presets.
Study the shape of professional animations to understand their speed graphs. Speed graph mastery is a key differentiator between amateur and professional editors. This skill takes practice but is essential for advanced work.
Step 17: Create Looping Velocity Edits
Looping velocity edits create continuous, mesmerizing animations. Set your keyframes to loop by adjusting the timing and easing curves. This is perfect for background animations, social media loops, and dynamic graphics.
Ensure your loop is seamless by matching the start and end velocities. Professional editors use looping velocity edits for eye-catching content. Loops are highly popular on platforms like Instagram and TikTok.
Step 18: Combine Multiple Velocity Curves
For complex animations, combine multiple velocity curves on different properties. For example, use a slow ease for position and a sharp ease for rotation. This creates rich, layered motion that looks highly professional.
Experiment with different curve combinations to discover unique motion styles. Professional editors often create complex velocity profiles for signature looks. Combining curves adds depth and sophistication to your animations.
Step 19: Use Visual References
Study professional animations and analyze their velocity profiles. Slow down professional content to understand how the motion works. Recreate these velocity curves in Alight Motion for practice.
Visual references help you understand what good velocity looks like. Professional editors constantly study and learn from other creators. This is an ongoing learning process that improves your skills.
Step 20: Practice with Simple Shapes
Before applying velocity editing to important projects, practice with simple shapes. Create basic animations with circles and squares to perfect your velocity technique. This builds muscle memory and understanding without the pressure of client work.
Professional editors constantly practice their skills with simple exercises. Mastery of velocity editing requires regular, deliberate practice. Simple practice sessions build the foundation for complex work.
Step 21: Add Overshoot and Bounce
Bounce is an extension of overshoot where the element bounces multiple times before settling. This creates a playful, energetic feel perfect for social media content. Adjust the bounce amount based on your desired energy level.
Combine bounce with other velocity techniques for unique motion styles. Professional editors use bounce effects to add personality to their animations. Bounce is highly effective for engaging, shareable content.
Step 22: Use Graph Presets for Consistency
Save your custom velocity curves as presets for future use. This ensures consistency across your projects and saves significant time. Name your presets clearly for easy identification and organization.
Professional editors build libraries of velocity presets for different situations. This allows them to work quickly while maintaining high quality. Presets are a powerful tool for professional efficiency.
Step 23: Match Velocity to Content Style
Different content styles require different velocity approaches. Fast, sharp velocity works well for energetic content like sports videos. Slow, smooth velocity works better for corporate and lifestyle content.
Adjust your velocity curves to match the emotional tone of your content. Professional editors always consider the content style when creating velocity edits. Matching velocity to content style enhances the overall viewer experience.
Step 24: Review and Get Feedback
Always get feedback on your velocity edits from other creators. Fresh eyes often catch issues that you might miss. Use this feedback to refine and improve your velocity editing skills.
Professional editors value constructive feedback and criticism. Continuous improvement is essential for professional growth. Review and feedback loops are part of the professional workflow.
Step 25: Keep Practicing
Velocity editing is a skill that improves with consistent practice. Set aside time each week to practice new velocity techniques. Review your old work to track your progress and identify areas for improvement.
Professional editors never stop practicing and learning. Velocity editing mastery is a journey, not a destination. Consistent practice is the only path to professional-level skills.
Frequently Asked Questions
Conclusion
Mastering velocity editing in Alight Motion is essential for creating professional, engaging content. The 25 steps in this guide provide a comprehensive approach to smooth velocity edits. Start by understanding the graph editor and gradually work through each technique.
Remember that practice is the key to velocity editing mastery. Start with simple projects and gradually increase complexity as your skills improve. Study professional animations to understand how velocity is used effectively.
With consistent practice and attention to detail, you can create smooth, professional velocity edits. These skills will elevate your content and set you apart as a professional editor. Your journey to mastering velocity editing starts with the first step of opening the graph editor today.