How to Make 3D Text Animation in Alight Motion
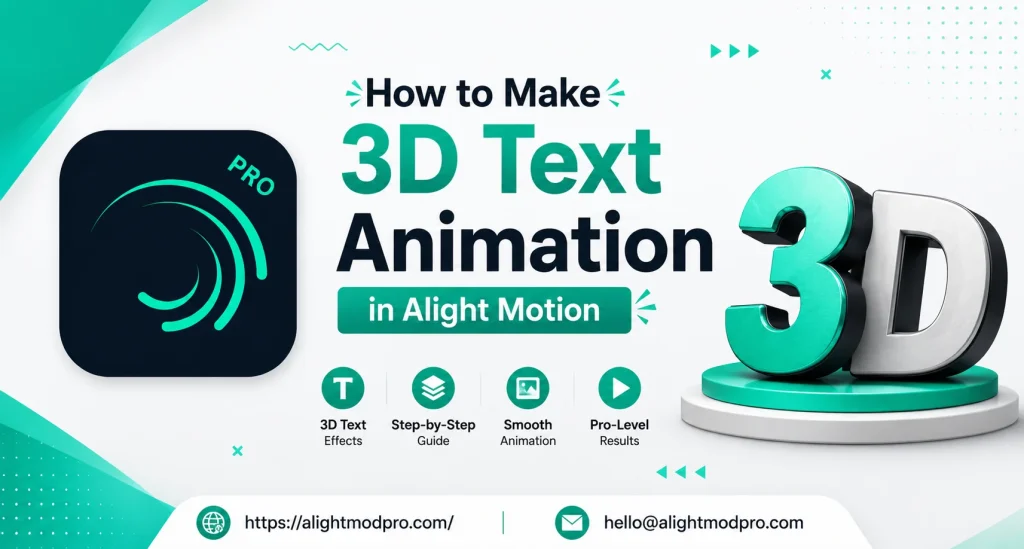
Creating 3D text animation in Alight Motion adds depth and professionalism to your videos. While Alight Motion is primarily a 2D animation app, you can achieve convincing 3D text effects using specific techniques. This guide will walk you through the most effective methods for creating 3D text animation.
3D text effects are highly popular for intros, lyrical videos, and social media content. With the right approach, you can create professional-looking 3D text directly on your mobile device. Let’s explore the step-by-step process for making 3D text animation in Alight Motion.
Understanding 3D Text in Alight Motion
Alight Motion does not have native 3D text extrusion like desktop software. However, you can create 3D-looking text using the 3D orientation tools and depth effects. The key is understanding how to manipulate text layers to create the illusion of three dimensions.
The app includes orientation controls that allow you to rotate text in 3D space. Combining these with shadows, gradients, and motion creates convincing 3D effects. Some versions also support a 3D extrusion feature for added depth.
Method 1: Using 3D Orientation Controls
This method uses Alight Motion’s built-in orientation tools to create 3D text. Type your text and select the layer to access its properties. Look for the orientation or 3D rotation settings in the layer properties panel.
Adjust the alpha, beta, and gamma values to rotate your text in 3D space. Alpha controls vertical rotation, beta controls horizontal rotation, and gamma controls tilt. Experiment with different combinations to achieve your desired 3D angle.
Adding subtle rotation over time creates dynamic 3D text animation. Keyframe the orientation values to make your text spin or rotate. This technique works well for logo reveals and title sequences.
Method 2: Creating 3D Extrusion Effect
Some versions of Alight Motion include a 3D extrusion feature for text layers. This adds depth to your text by creating a 3D thickness effect. Look for the 3D or extrusion option in your text layer settings.
Adjust the depth value to control how thick your 3D text appears. Higher values create more pronounced 3D effects. Enable the 3D extrusion option and adjust the depth slider to your preference.
Note that this feature may not be available in all Alight Motion versions. If you cannot find it, your version may not support 3D extrusion. In this case, use alternative methods like the cylinder effect technique.
Method 3: Using the Cylinder Effect for Circular 3D Text
The cylinder effect creates a circular 3D text effect by wrapping text around a cylinder shape. This is perfect for creating rotating text rings and circular 3D animations. Start by creating your text layer and a rectangle shape layer.
Fill the rectangle to cover the entire screen and group it with your text layer. Apply the group and mask them together. Select the grouped layer and add the cylinder effect from the effects menu.
Adjust the orientation alpha value to control the circular curvature. Set a starting value around -13 and keyframe the rotation for animation. Duplicate the group and adjust the alpha value in the opposite direction for a complete circular effect.
Method 4: 3D Text with Shadows and Gradients
Shadows and gradients add depth and realism to your 3D text effects. Add a drop shadow to create the illusion of text standing off the background. Use a linear gradient fill to simulate lighting on your 3D text.
Gradient fills make text appear more dimensional and realistic. Apply the gradient fill effect to your text layer and adjust the angle. Position the lighter part of the gradient where light would naturally hit the text.
Method 5: Layering Technique for 3D Depth
Create multiple copies of your text layer and offset them slightly. Change the color of each copy to create a 3D extrusion effect. This mimics the look of extruded 3D text without using specific 3D tools.
Arrange the copies from darkest to lightest for a realistic shadow effect. Offset each copy slightly in the direction of your light source. This technique works well for creating 3D text without built-in extrusion.
Method 6: 3D Text with Masking and Rotation
Masking combined with rotation creates dynamic 3D text effects. Create your text and add a shape layer to act as a mask. Animate the mask moving across the text for a 3D reveal effect.
Combine this with rotation keyframes for a more dynamic look. The mask reveal creates the illusion of text emerging from 3D space. This technique is popular for professional text intros.
Method 7: Adding Motion to 3D Text
3D text becomes more impressive with proper animation. Use keyframes to animate position, rotation, and scale. Combine these with easing curves for smooth, professional motion.
Animate the Y-axis rotation for spinning 3D text effects. Keyframe the scale for dramatic entrances and exits. Motion blur adds realism to fast-moving 3D text animations.
Method 8: Creating 3D Lyrical Text Effects
Lyrical text animations are very popular on social media platforms. Use 3D text techniques with staggered character animations. Animate each character with slight delays for professional-looking lyric videos.
Combine 3D text with colorful backgrounds and transitions. Add glow and neon effects for more visual impact. Lyrical 3D text videos are highly engaging and shareable.
Method 9: Using Pre-Set 3D Text Templates
The Alight Motion community offers many 3D text templates. Download and import these templates into your projects. Customize the text and colors to match your brand.
Templates save significant time and provide professional results. Many creators share free 3D text templates online. Experiment with different templates to find your preferred style.
Method 10: Combining Multiple 3D Techniques
Professional 3D text often combines multiple techniques. Use orientation controls with shadow effects and motion blur. Combine the cylinder effect with gradients for circular 3D text.
Layer different 3D text techniques for complex animations. Each technique adds a layer of depth and professionalism. Creative combinations produce unique and impressive 3D text effects.
Step-by-Step Guide
Step 1: Create Your Text Layer
Open Alight Motion and create a new project. Tap the text tool and type your desired text. Choose a bold font that works well for 3D effects.
Adjust the font size and color to your preference. Bold fonts with clean edges work best for 3D text. Position your text in the center of the canvas.
Step 2: Access Layer Properties
Select your text layer and open the layer properties panel. Look for orientation or 3D rotation controls. These are usually found under the transform or properties section.
Understanding where these controls are located is essential. Different versions may have slightly different menu layouts. Familiarize yourself with your version’s interface.
Step 3: Adjust 3D Orientation
Use the alpha, beta, and gamma controls to rotate your text. Alpha controls rotation around the X-axis (vertical tilt). Beta controls rotation around the Y-axis (horizontal spin).
Gamma controls rotation around the Z-axis (tilt). Experiment with different combinations for your desired angle. Small adjustments can make a significant difference.
Step 4: Add 3D Extrusion (If Available)
If your version supports 3D extrusion, enable this feature. Locate the 3D or extrusion option in text settings. Adjust the depth value to control how thick your text appears.
The depth value should match your desired visual style. Start with a small value and increase gradually. Too much depth can look unnatural in some contexts.
Step 5: Apply Shadows and Effects
Add a drop shadow to create the illusion of depth. Adjust shadow opacity, distance, and blur for realism. Use a gradient fill for more dimensional text coloring.
Shadows and gradients are essential for convincing 3D text. Experiment with different shadow angles and intensities. Proper shadows make your text feel grounded in the scene.
Step 6: Animate Your 3D Text
Add keyframes for rotation, position, or scale animation. Animate rotation for spinning 3D text effects. Use easing curves for smooth, professional motion.
Keyframe the orientation values for dynamic movement. Add motion blur for more realistic 3D text animation. Preview your animation and refine timing as needed.
Step 7: Finalize and Export
Review your 3D text animation for quality and smoothness. Make any necessary adjustments to timing and effects. Export your project with appropriate settings.
Choose resolution and bitrate based on your target platform. Test your export on different devices if possible. Your 3D text animation is now ready for sharing.
Frequently Asked Questions
Conclusion
Creating 3D text animation in Alight Motion requires understanding available techniques and tools. The orientation controls provide basic 3D rotation capabilities. The cylinder effect creates impressive circular 3D text animations.
Shadows, gradients, and motion blur add depth and realism to your effects. Experiment with different techniques to find your preferred style. With practice, you can create professional 3D text animations on your mobile device.
Combine multiple techniques for unique and impressive results. Templates and presets can save time and provide inspiration. Start simple and gradually incorporate more complex effects as you improve.