Alight Motion Complete Beginner’s Guide (2026)
Alight Motion has become one of the most popular mobile video and animation editing apps in 2026, trusted by content creators, YouTubers, and social media influencers around the world. Whether you’re editing Instagram Reels, YouTube Shorts, or full-length cinematic videos, Alight Motion gives you desktop-level editing power right from your smartphone. This complete beginner’s guide will walk you through everything you need to know to get started with confidence.
What is Alight Motion?
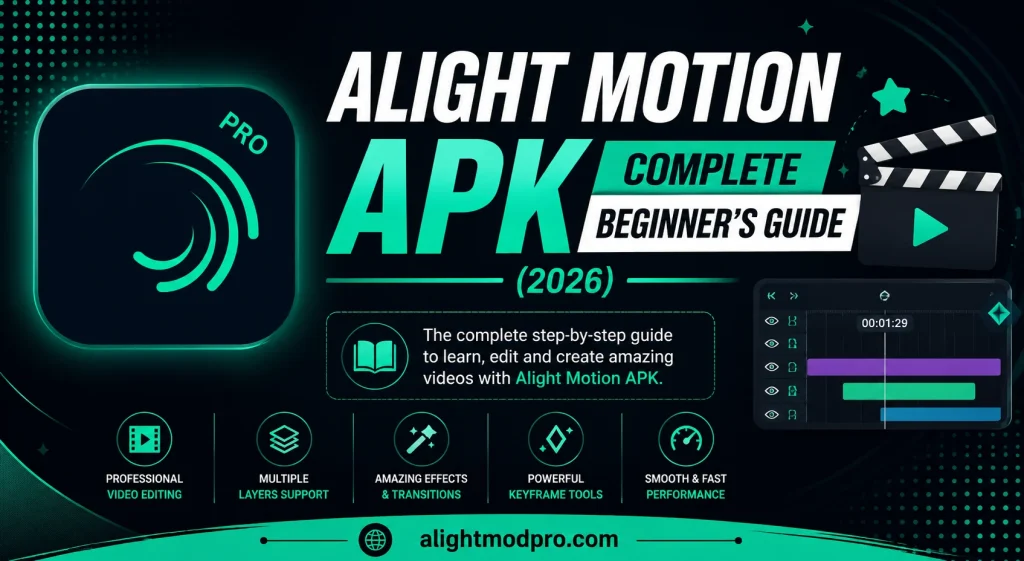
Alight Motion is a professional-grade video and animation editing application available for Android and iOS devices. Unlike many basic mobile editors, Alight Motion uses a layer-based, non-destructive editing system similar to desktop software like Adobe After Effects. This means you can stack video clips, images, text, shapes, and effects on separate layers, giving you granular control over every element of your project.
The app supports keyframe animation, vector graphics, motion graphics, chroma keying, and a huge library of blending modes and effects. It has quickly become a favorite among mobile editors who want professional results without needing a laptop or desktop computer.
Why Choose Alight Motion Over Other Mobile Editors?
There are dozens of video editing apps available today, but Alight Motion stands out for several reasons:
Layer-Based Editing System
Most basic editors only allow you to trim and arrange clips on a single timeline. Alight Motion instead uses multiple layers, letting you place text over video, add shape animations, and control opacity and blending independently for each element.
Keyframe Animation Support
Keyframes allow you to animate almost any property in your project — position, scale, rotation, opacity, and more — over time. This is a feature typically reserved for desktop software, and having it on mobile is a huge advantage for creators on the go.
Vector Graphics and Shape Tools
Alight Motion includes built-in vector drawing tools, allowing you to create custom shapes, logos, and animated graphics directly within the app without needing external design software.
Extensive Effects Library
The app comes with a large collection of built-in effects, including blur, glitch, distortion, color correction, and more, which can be layered and combined for unique visual styles.
Getting Started: Installing Alight Motion
To begin your editing journey, download Alight Motion directly from the Google Play Store or Apple App Store. Installing from official app stores ensures you receive regular updates, security patches, and access to customer support if anything goes wrong.
Once installed, open the app and grant it permission to access your device’s photos, videos, and storage. This allows you to import your media directly into your projects.
Understanding the Interface
When you first open Alight Motion, the interface may look a little overwhelming, but it becomes intuitive quickly once you understand its core sections:
The Timeline
Located at the bottom of the screen, the timeline shows all your layers stacked vertically, with time running horizontally. You can scrub through your project, trim clips, and reorder layers directly here.
The Preview Window
This is where you see a live preview of your project as you edit. Pinch to zoom and drag to reposition elements directly within this window.
The Toolbar
Along the top or side of the screen, you’ll find tools for adding new elements, adjusting properties, and accessing effects, blending modes, and export settings.
The Properties Panel
When you select a layer, a properties panel appears, allowing you to adjust position, scale, rotation, opacity, and other attributes. This is also where you add keyframes for animation.
Creating Your First Project
Starting your first project in Alight Motion is straightforward:
- Tap the “+” button to create a new project.
- Choose your desired resolution and frame rate (1080p at 30fps is a great starting point for most social media platforms).
- Import your first video clip or image by tapping the import icon.
- Arrange your clip on the timeline and trim it to your desired length.
- Add additional layers such as text, music, or effects as needed.
Take your time exploring each menu. Alight Motion rewards experimentation, and the best way to learn is by trying different tools on a practice project before working on content you plan to publish.
Working with Text and Titles
Adding text is one of the most common tasks for beginners. Tap the text tool, type your desired content, and then customize the font, size, color, and alignment. You can also animate your text using keyframes to make it fade in, slide across the screen, or scale up dramatically for emphasis.
For creators making Reels or Shorts, animated text is essential for keeping viewers engaged, and Alight Motion makes this process simple even for those with no prior animation experience.
Adding Effects and Transitions
To make your videos feel polished, explore the effects and transitions menu. Effects can be applied to entire layers or specific portions of a clip, while transitions help smooth the visual jump between two clips. Popular beginner-friendly transitions include cross dissolves, zoom transitions, and slide effects.
Start with subtle effects until you’re comfortable with how each one changes your footage. Overusing effects is a common beginner mistake that can make videos feel cluttered rather than professional.
Understanding Keyframes
Keyframes are the foundation of animation in Alight Motion. To create a keyframe:
- Select the layer you want to animate.
- Position the playhead at the point in time where you want the animation to begin.
- Adjust a property (like position or scale) — this automatically creates a keyframe.
- Move the playhead forward and adjust the property again to create a second keyframe.
Alight Motion will automatically interpolate the values between your two keyframes, creating smooth animation. This technique can be used to animate almost anything in your project, from bouncing text to moving shapes.
Exporting Your Project
Once your project is complete, tap the export button and choose your desired resolution, frame rate, and bitrate. Higher bitrates result in better quality but larger file sizes. For most social media platforms, exporting at 1080p with a high bitrate strikes the right balance between quality and file size.
Tips for Beginners
- Start Simple: Don’t try to use every feature in your first project. Master the basics before moving to advanced techniques.
- Save Often: Alight Motion allows you to save your project at any stage, so make it a habit to save regularly to avoid losing work.
- Use Templates: Many creators share free templates and presets online that you can study to understand how professional effects are built.
- Watch Tutorials: There are countless tutorials available covering specific techniques, from color grading to advanced masking.
- Practice Consistently: Like any skill, video editing improves with regular practice. Set aside time each week to experiment with new techniques.
Common Beginner Mistakes to Avoid
Many new users make similar mistakes when starting out with Alight Motion. Overcomplicating projects with too many effects, ignoring proper export settings, and skipping the organization of layers are among the most common issues. Naming your layers clearly and grouping related elements together will save you significant time as your projects grow more complex.
Building Your Editing Skills Over Time
As you become more comfortable with Alight Motion, you’ll naturally want to explore more advanced features like masking, chroma keying, 3D text animation, and complex keyframe sequences. Each of these builds on the fundamentals covered in this guide, so make sure you have a solid grasp of layers, keyframes, and basic effects before moving forward.
Understanding Blending Modes
One feature that often confuses beginners is blending modes. Blending modes control how a layer’s colors interact with the layers beneath it, similar to blending modes found in desktop software like Photoshop or After Effects. Common blending modes include Multiply, which darkens the image based on the layers below, and Screen, which lightens it. Experimenting with blending modes on text, shapes, and effect layers can produce striking visual results, such as glowing text or cinematic light leaks.
To apply a blending mode, select your layer, open its properties panel, and look for the blending mode option, usually represented as a dropdown menu. Try applying different modes to a duplicate layer of your footage to see how each one changes the overall look before committing to a final choice.
Working with Audio in Alight Motion
While Alight Motion is best known for its visual editing capabilities, it also includes solid audio editing tools. You can import music tracks, sound effects, and voiceovers directly into your project timeline. Audio layers can be trimmed, faded in and out, and adjusted in volume just like video layers.
For creators syncing music to visual beats, Alight Motion allows you to zoom into the timeline for precise placement of cuts and keyframes that align with specific moments in your audio track. This is particularly useful for music videos, dance edits, and rhythm-based content that has become popular on platforms like Instagram Reels and TikTok.
Introduction to Masking
Masking is a more advanced technique that beginners should start exploring once they’re comfortable with the basics. A mask allows you to hide or reveal parts of a layer based on a shape or another layer’s alpha channel. This technique is commonly used for creating text reveal effects, split-screen designs, and creative transitions between clips.
To create a basic mask in Alight Motion, select the layer you want to mask, then choose the masking option in the properties panel and select the layer you’d like to use as the mask source. Practicing with simple shape masks before moving to more complex techniques will help build your confidence with this powerful tool.
Organizing Complex Projects
As your projects grow in complexity, organization becomes increasingly important. Alight Motion allows you to group multiple layers together, making it easier to move, animate, or apply effects to several elements simultaneously. Naming your layers descriptively — such as “Intro Text” or “Background Video” rather than generic default names — will save significant time when revisiting a project later or making revisions based on feedback.
Color-coding layers is another organizational technique some creators use to visually distinguish between different types of content, such as text, video, and effects layers, at a glance.
Understanding Project File Management
Alight Motion projects are saved as .alight files, which store all the information about your layers, keyframes, and effects, but not necessarily the raw media files themselves in every case. It’s good practice to keep your imported media organized in dedicated folders on your device so that Alight Motion can always locate them when reopening a project. Losing track of source media is a common beginner frustration that can be easily avoided with consistent file organization habits from the start.
Building a Consistent Editing Workflow
As you grow more experienced, developing a consistent workflow will make your editing process faster and more predictable. A typical workflow might look like this: import and organize your raw footage, arrange clips on the timeline, add text and graphic elements, apply color correction and effects, fine-tune keyframe animations, and finally review and export. Following a repeatable process reduces the chances of forgetting important steps and helps maintain a consistent style across multiple projects.
Learning from the Alight Motion Community
One of the best resources for beginners is the active community of Alight Motion users who share tutorials, presets, and project files online. Studying how experienced creators build specific effects — by examining shared project files or following along with tutorial videos — is one of the fastest ways to level up your own skills. Many community members are happy to answer questions for newcomers, making it a valuable space for troubleshooting and inspiration alike.
Frequently Asked Questions (FAQs)
Conclusion
Alight Motion offers an incredible amount of creative power for a mobile application, making professional-level video editing accessible to anyone with a smartphone. By understanding the core interface, mastering layers and keyframes, and practicing regularly, beginners can quickly develop skills that rival desktop editing software. Whether your goal is creating viral Reels, YouTube content, or personal creative projects, this guide provides the foundation you need to start your Alight Motion journey with confidence.
Take the time to explore every menu, experiment with different effects, and don’t be afraid to make mistakes — they’re often the best way to learn. With consistent practice, you’ll be creating polished, professional-looking videos in no time.